What Swift Outbox is
A plain-language overview of what the app does, how a campaign flows from lead to reply, and the words you will see in the app.
On this page
Who this is for: anyone opening Swift Outbox for the first time, including people who have never run cold email before.
Swift Outbox is a cold email app. You upload the people you want to reach, the AI reads each person’s website and writes a personal email for them, you approve the emails, and the app sends them slowly from your own mailboxes. Replies come back into one inbox inside the app.
Nothing is sent until you start a campaign, and every email carries an unsubscribe link. People who opt out are never emailed again.
How a campaign works
The app’s own onboarding page sums it up in four steps. Every lead goes through the same path:
- You upload your leads. A spreadsheet (CSV) of the people you want to email goes into Leads. If your plan includes it, the Email verifier checks the addresses first, so fewer emails bounce.
- The AI writes each email. For every lead, the app can read their website (Website research) and write an email that mentions what it found. It writes with your own AI key, or with Swift Pilot credit if you have no key.
- You approve and it sends. Drafts wait in Review emails until you approve them, unless you choose to send automatically. Approved emails go out from your connected sending accounts, a few minutes apart.
- Replies land in your Inbox. The app checks your reply mailbox and shows replies in Inbox. The lead is marked as replied.
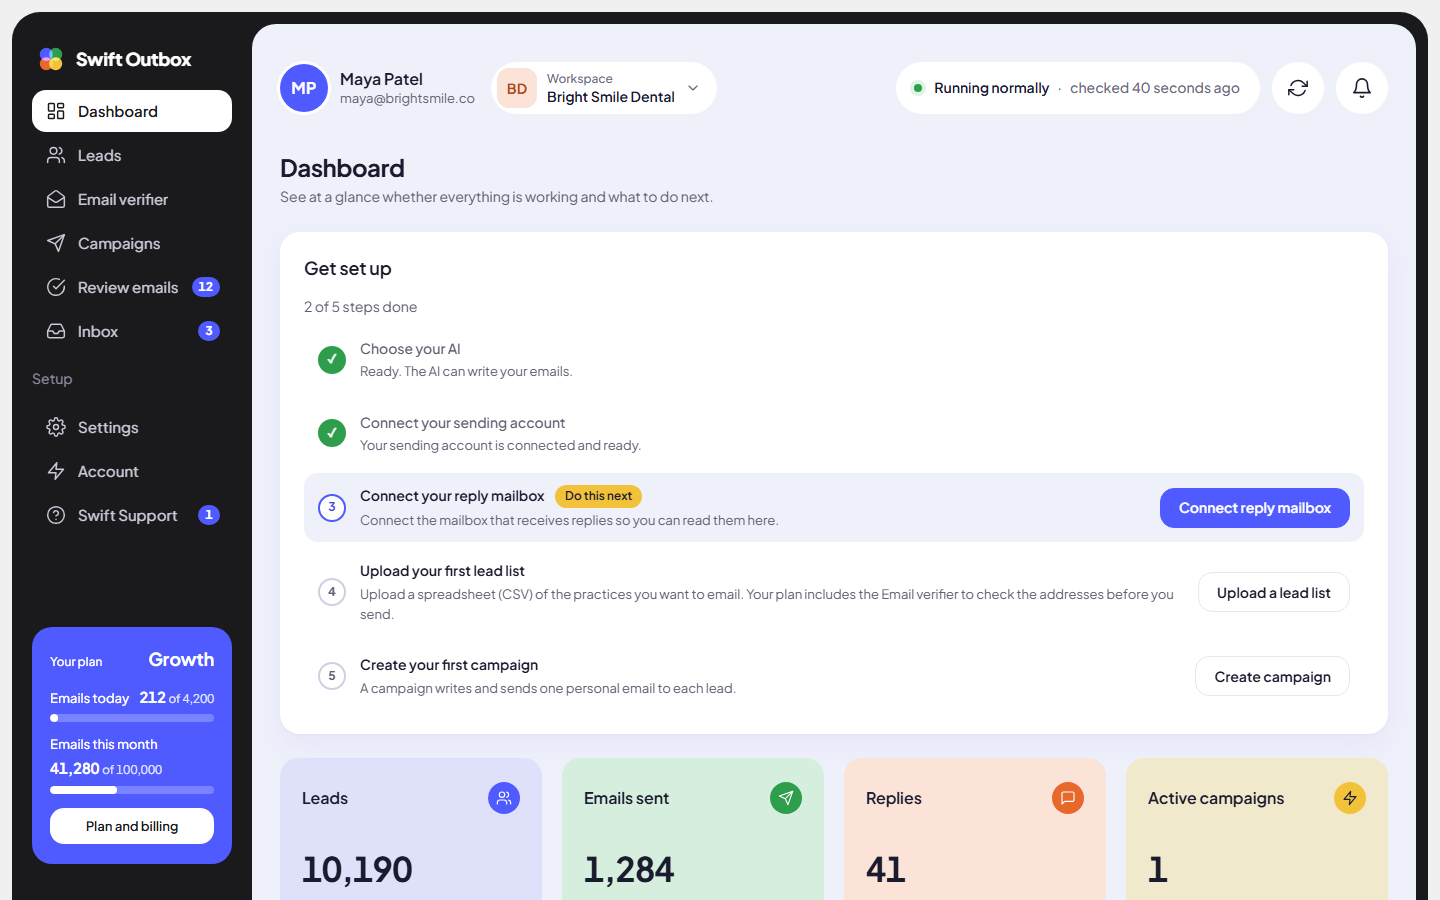
The main areas of the app
The dark sidebar on the left holds every part of the app, in this order:
| Sidebar item | What you do there |
|---|---|
| Dashboard | See at a glance whether everything works and what to do next. |
| Leads | Upload lead lists, look at each lead and open the Do-not-email list. |
| Email verifier | Check email addresses before you send (paid plans). |
| Campaigns | Create, start, pause and read the results of campaigns. |
| Review emails | Approve, edit or skip AI-written emails before they send. The badge shows how many are waiting. |
| Inbox | Read and answer replies. The badge shows unread replies. |
| Settings | Connect your AI, sending accounts and reply inboxes, and set tracking and signature. |
| Account | Your profile, login and security, team, workspaces and Plan and billing. |
| Swift Support | Open a ticket and talk to our support team. |
Words you will see
- Sending account: an email account (Gmail, Outlook / Microsoft 365, Zoho or any other host) that the app sends from. You connect it once in Settings.
- Reply inbox: the mailbox the app checks for replies. Often it is the same email account as your sending account.
- Swift Pilot: the app’s built-in AI writer. It uses credit instead of your own AI key. Paid plans include monthly credit.
- Workspace: a separate space with its own leads, campaigns and connections. Agencies use one per client.
- Do-not-email list: addresses and whole domains that never get an email from you. Unsubscribes and bounces are added automatically.
Tip: The app sends emails a few minutes apart on purpose. Slow, steady sending looks like a person writing, which keeps your emails out of spam folders.
Common mistakes
- Expecting emails to go out the moment you click start. Campaigns send inside a daily limit and a time window, with a wait between emails. A list of 300 leads at 30 a day takes about two weeks.
- Skipping the reply inbox. Without it, replies still arrive in your normal mailbox, but the app cannot show them or mark the lead as replied.
Next step
Create your account and pick a plan: Sign up and choose a plan.
Still stuck? Open a ticket from Swift Support in the app, or contact us.